
I can't wait for her to see them!


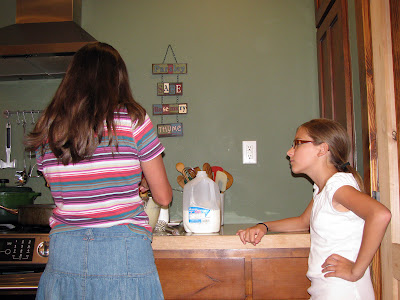


 Morgan is also using a fork, but there's no doubt she's enjoying her treat!
 Honestly, these were better than any we've ever had! And the mess? That's what the kids are for!
Ingredients:
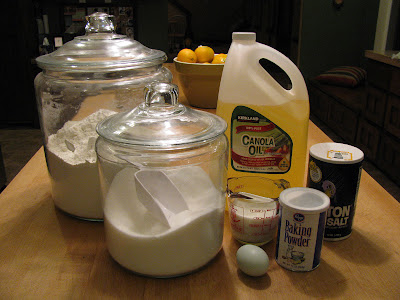
1 egg
2/3 cup milk
2 tbsp. sugar
1 1/4 cup flour
1/4 tsp. salt
1 tsp. baking powder
Directions:
1. In a deep skillet, heat about two cups of oil over medium-high heat until hot. Test the temperature by dropping a pinch of flour into the hot oil. If it sizzles right away without smoking, it's perfect.
2. Beat egg and milk. Mix all other ingredients in a separate bowl and slowly add to the egg mixture, beating until smooth.
3. Using a funnel, drop into hot oil working from center outwards in a web pattern. (You can use a gallon sized freezer bag instead of a funnel by pouring the batter into the bag, snipping off a small corner of it, and squeezing the batter into the oil.)
4. Cook for about 2-3 minutes, remove from the oil when golden brown and crispy.
5. Sprinkle with powdered sugar and serve

 Ingredients:

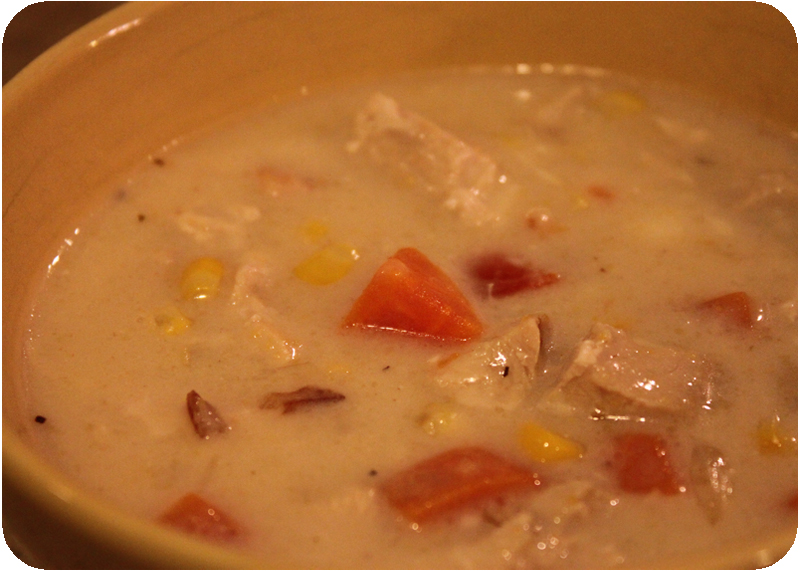
 Cheesy Chicken and Rice Casserole, of course! Although this looks suspiciously like something you would see at Potluck on Sunday, it's quite yummy. And the best part is, it doesn't use any of those pesky cans of cream soups. (Not to offend anyone who uses them, but I try to keep our family's sodium down.) While this dish probably wouldn't be considered low fat, it's relatively healthy; and most importantly can be made with love by you for your family! Try it and see!


© Blogger template Shush by Ourblogtemplates.com 2009
Back to TOP